0 item(s)
View cart
You have no items in your shopping cart.


Have you always wanted to try making your own soap, but unsure of where to start? One of the keys to successful soap-making is having a high-quality mold that will not only create beautiful pours but also be reusable for future batches. In this article, we will guide you through the process of creating a unique silicone mold as well as how to use it to create fun soap shapes.
Step 1: Design your mold and gather materials
The first step in making a silicone mold is to decide on a design. This can be a shape you’ve seen in stores or online, or you can create your own. The possibilities are endless - from simple rectangles and circles to intricate flowers and animals. In this video, we used modeling clay to make our design but you could also use a household item or figurine. Once you have your design, it's time to start creating the mold.
You will need silicone mold-making rubber such as ArtiSil 1025T, a container to hold the mold, a mixing cup, a stir stick and a vacuum chamber. Make sure you have all your necessary materials before proceeding.
2. Make Your Mold
Start with a container to hold your mold, such as a cardboard box or plastic container. Mix your silicone according to the manufacturer instructions, and pour it into the container, covering your design completely. Let the silicone cure for at least 24 hours before removing your mold from the container.
For more detailed ArtiSil silicone mold making instructions, go HERE.
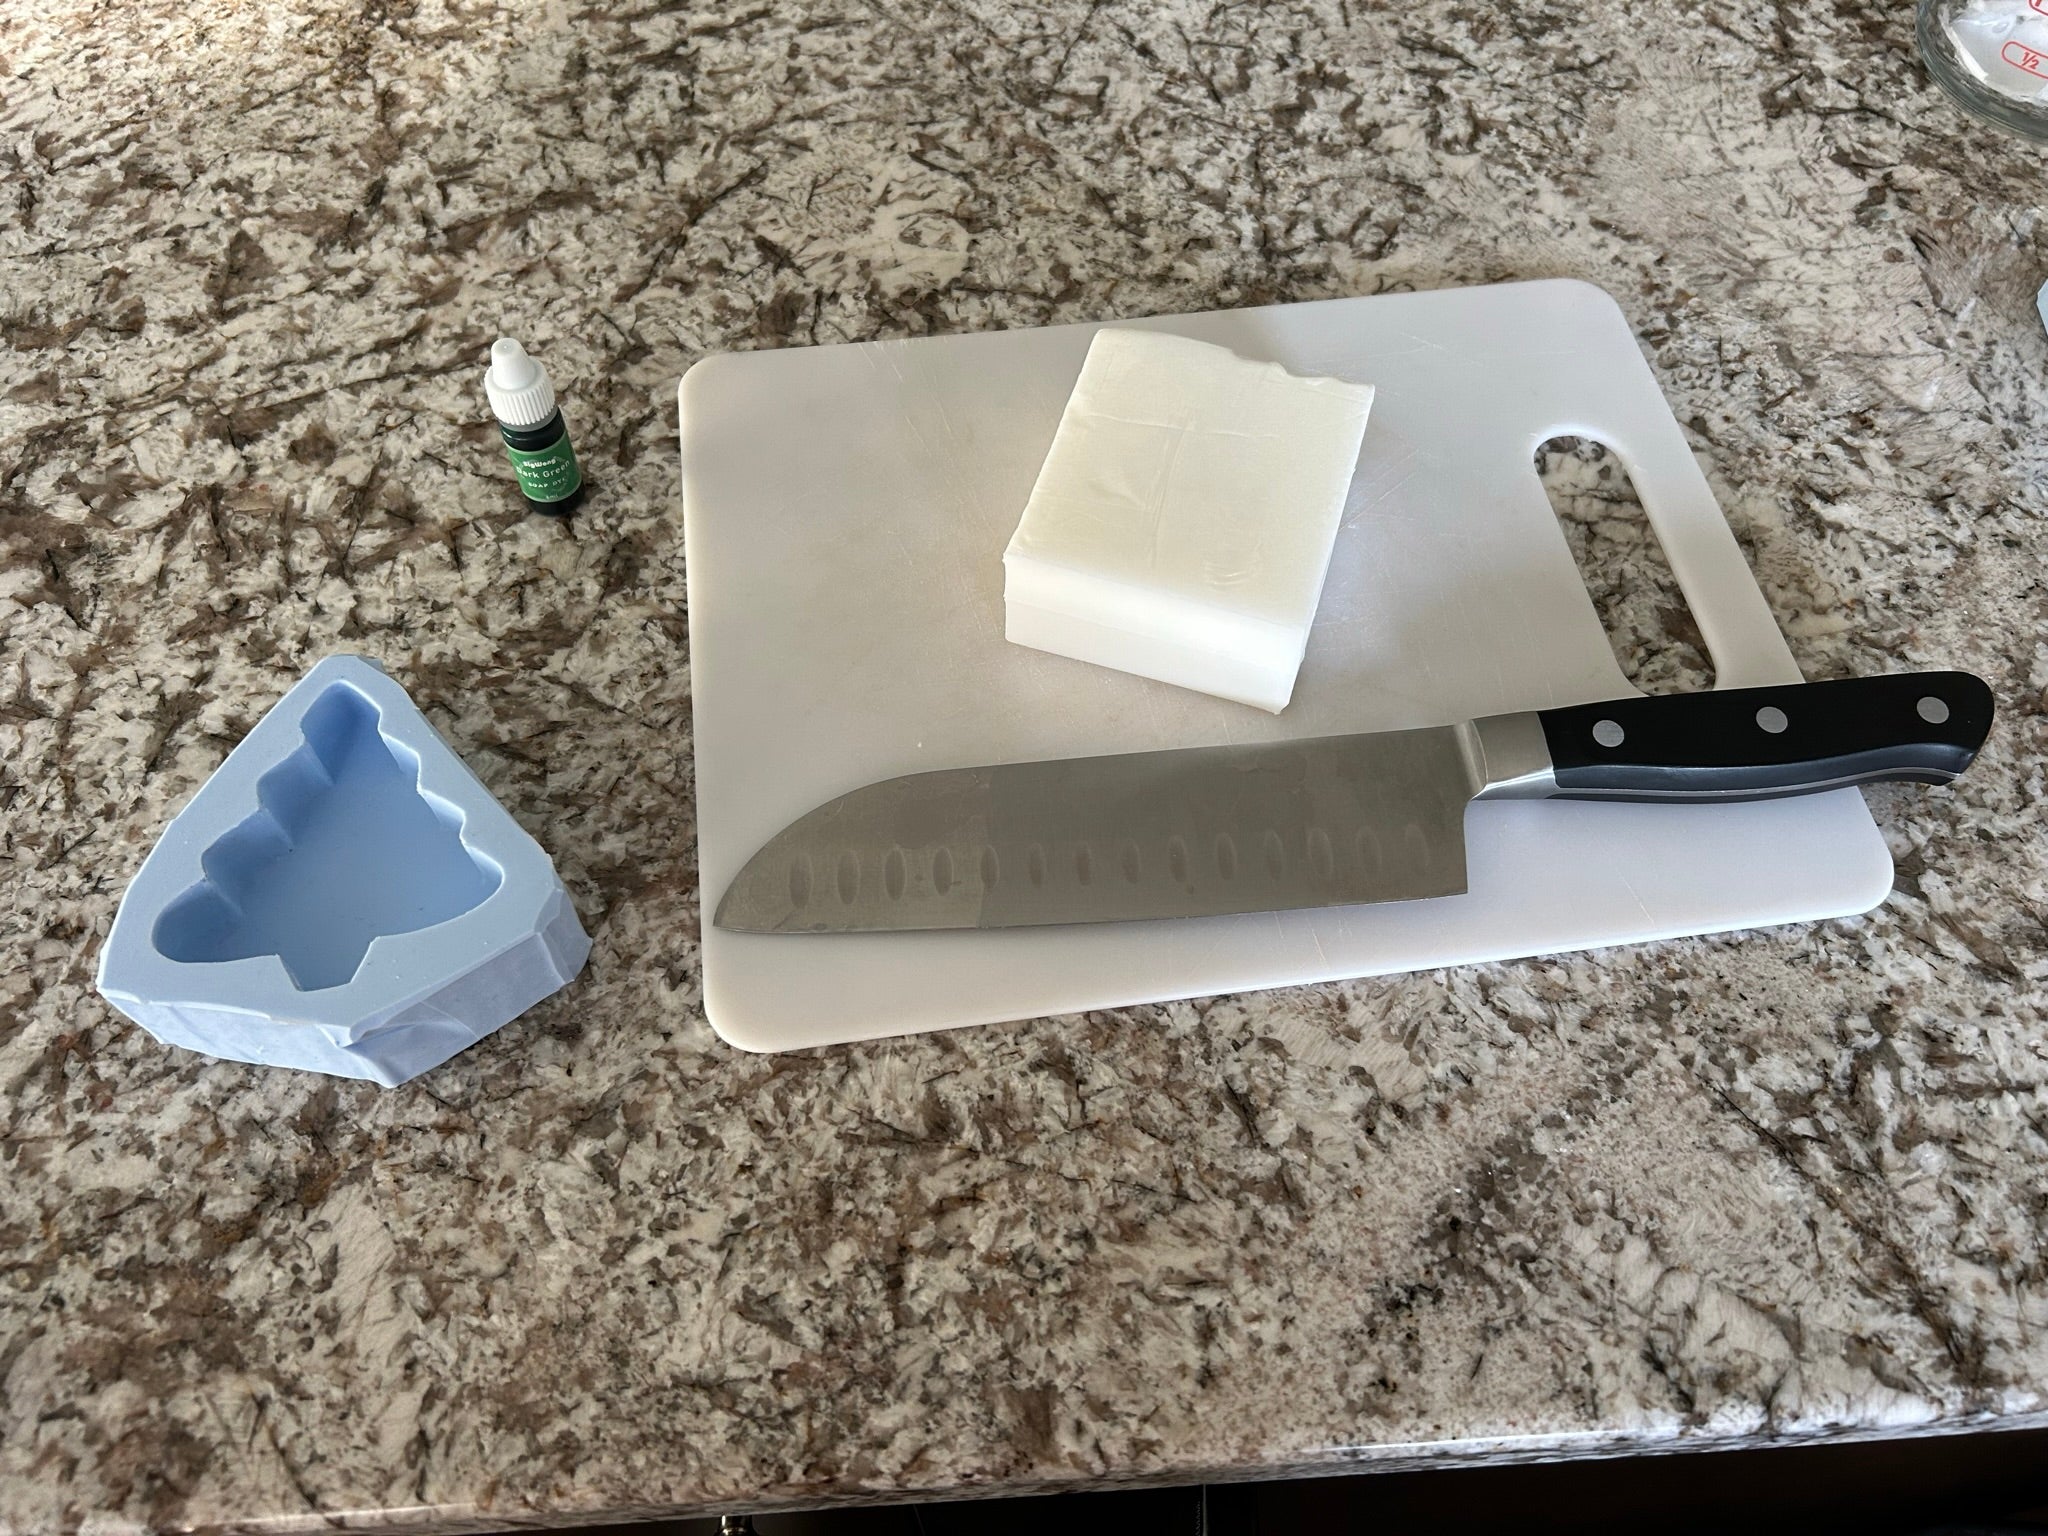
3. Choose Your Soap Ingredients
Now that you have your mold ready, it's time to choose your soap ingredients. This can include oils, fragrances, colors, and more. Decide on the combination that works best for you and follow the recipe carefully. Melt the soap completely in either a double broiler or the microwave.
Mix your ingredients together and, once you’re ready, pour the mixture into your mold. You can make swirls with the color or mix in completely. Be sure to pay close attention to the pouring process to ensure that your soap is evenly distributed and free of air bubbles.
4. Let the Soap Cure
After pouring your soap mixture into your mold, allow it to cure. This typically takes anywhere from 8-24 hours depending on the recipe and the type of soap. Once it's dry, carefully remove the soap from your mold and it's ready to use! Enjoy the feeling of accomplishment in holding a soap bar that you created yourself.
5. Get Creative
With the basics down, the sky's the limit when it comes to creating custom soaps. Experiment with various shapes and sizes, and even different ingredients to create soaps with beautiful textures and colors. Taking the time to create something of your own can be very rewarding, and with a silicone mold, the possibilities are endless.
Now that you see how easy it is to make soap with a silicone mold, you can create beautiful bars that are perfect for your home or even to sell. Whether you're a beginner or an experienced soap maker, anyone can create unique soaps with the help of a silicone mold. So get started today and make something truly unique that reflects your own personal style or the style of your customers!