0 item(s)
View cart
You have no items in your shopping cart.


Chess is a classic game that never goes out of style. It’s simple to play yet can be quite challenging if you’re going against a skilled opponent. If you’re a fan of chess, why not take your game to the next level by creating your own custom-designed chessboard? Creating a chessboard using epoxy resin and pigments is a fun and easy project that can be completed in a weekend. In this blog post, we’ll go over the step-by-step process and provide tips and tricks for creating a stunning, one-of-a-kind chessboard.
Step 1: Find a Mold
If you have your own chessboard and pieces that you want to recreate and make in unique colors, you could make a silicone mold of it. Your original chessboard will need to be sealed first. From there, you can create multiple boards. If you prefer to buy a mold online, there are many available. We got ours HERE.
Step 2: Gather Supplies
Stir sticks
Pigments
Safety supplies including gloves and mask
Step 3: Choose your color palette
The next step in creating a unique chessboard with epoxy resin is to choose your color palette. Epoxy resin comes in a wide range of colors, so pick one that suits your taste and personal style. Alternatively, you can mix different colors to create your own unique shade. For example, you can combine blue and green for a cool oceanic vibe or red and yellow for a vibrant pop of color. Once you have chosen your colors, prepare your work area by covering it with plastic or old newspapers to avoid any stains.
Step 4: Mix the epoxy resin
After you’ve chosen your colors and prepared the surface, it’s time to mix the epoxy resin. Measure out equal parts Part A and Part B in separate cups. Then mix the resin and hardener together in one cup to create a thick, clear liquid. Thoroughly mix, scraping down the sides of the cup as you mix. Don't stir too vehemently as this will create air bubbles.
Add your chosen color pigments to the mixture, being sure to create a consistent color throughout. Do not add more than 8% by volume. Mix it well until it becomes a uniform color.
Step 5: Apply Epoxy to Alternating Squares
Once your epoxy resin and pigments have been mixed, it’s time to pour and spread it onto the chessboard surface. The first part is a little trickier if you are alternating colors. We found that a syringe worked well for applying the resin to every other square. A small cup or other applicator may also work. To spread the resin to the very corners of each alternating square, use a toothpick or tiny spatula.
Use a heat gun to get rid of any air bubbles that may have formed in the resin. Once the air bubbles are removed and resin is even, let cure. Cure for approximately 24 hours before adding the next layer of resin.
Step 6: Apply the Rest of Epoxy Resin
Follow the same instructions for mixing the epoxy resin with pigments as above. Once the epoxy resin and pigment is mixed well, pour over the chessboard until the mold is full. Use a heat gun to get rid of any bubbles and let cure.
Step 7: Chess Pieces and Removing Mold
Choose what color you want the chess pieces to be. You can do one of the same colors you used for the squares, or choose a whole different color. If you choose a color you used for the squares, mix enough epoxy when doing the squares to also fill the chess piece molds. This shortens the amount of time you will need to mix up new epoxy resin.
If you choose a whole different color, mix the epoxy resin and pigments as explained earlier. We had to use small rubber bands at the ends of the chess pieces to keep their shape. Remove air bubbles with a heat gun. Let cure for 24 hours.
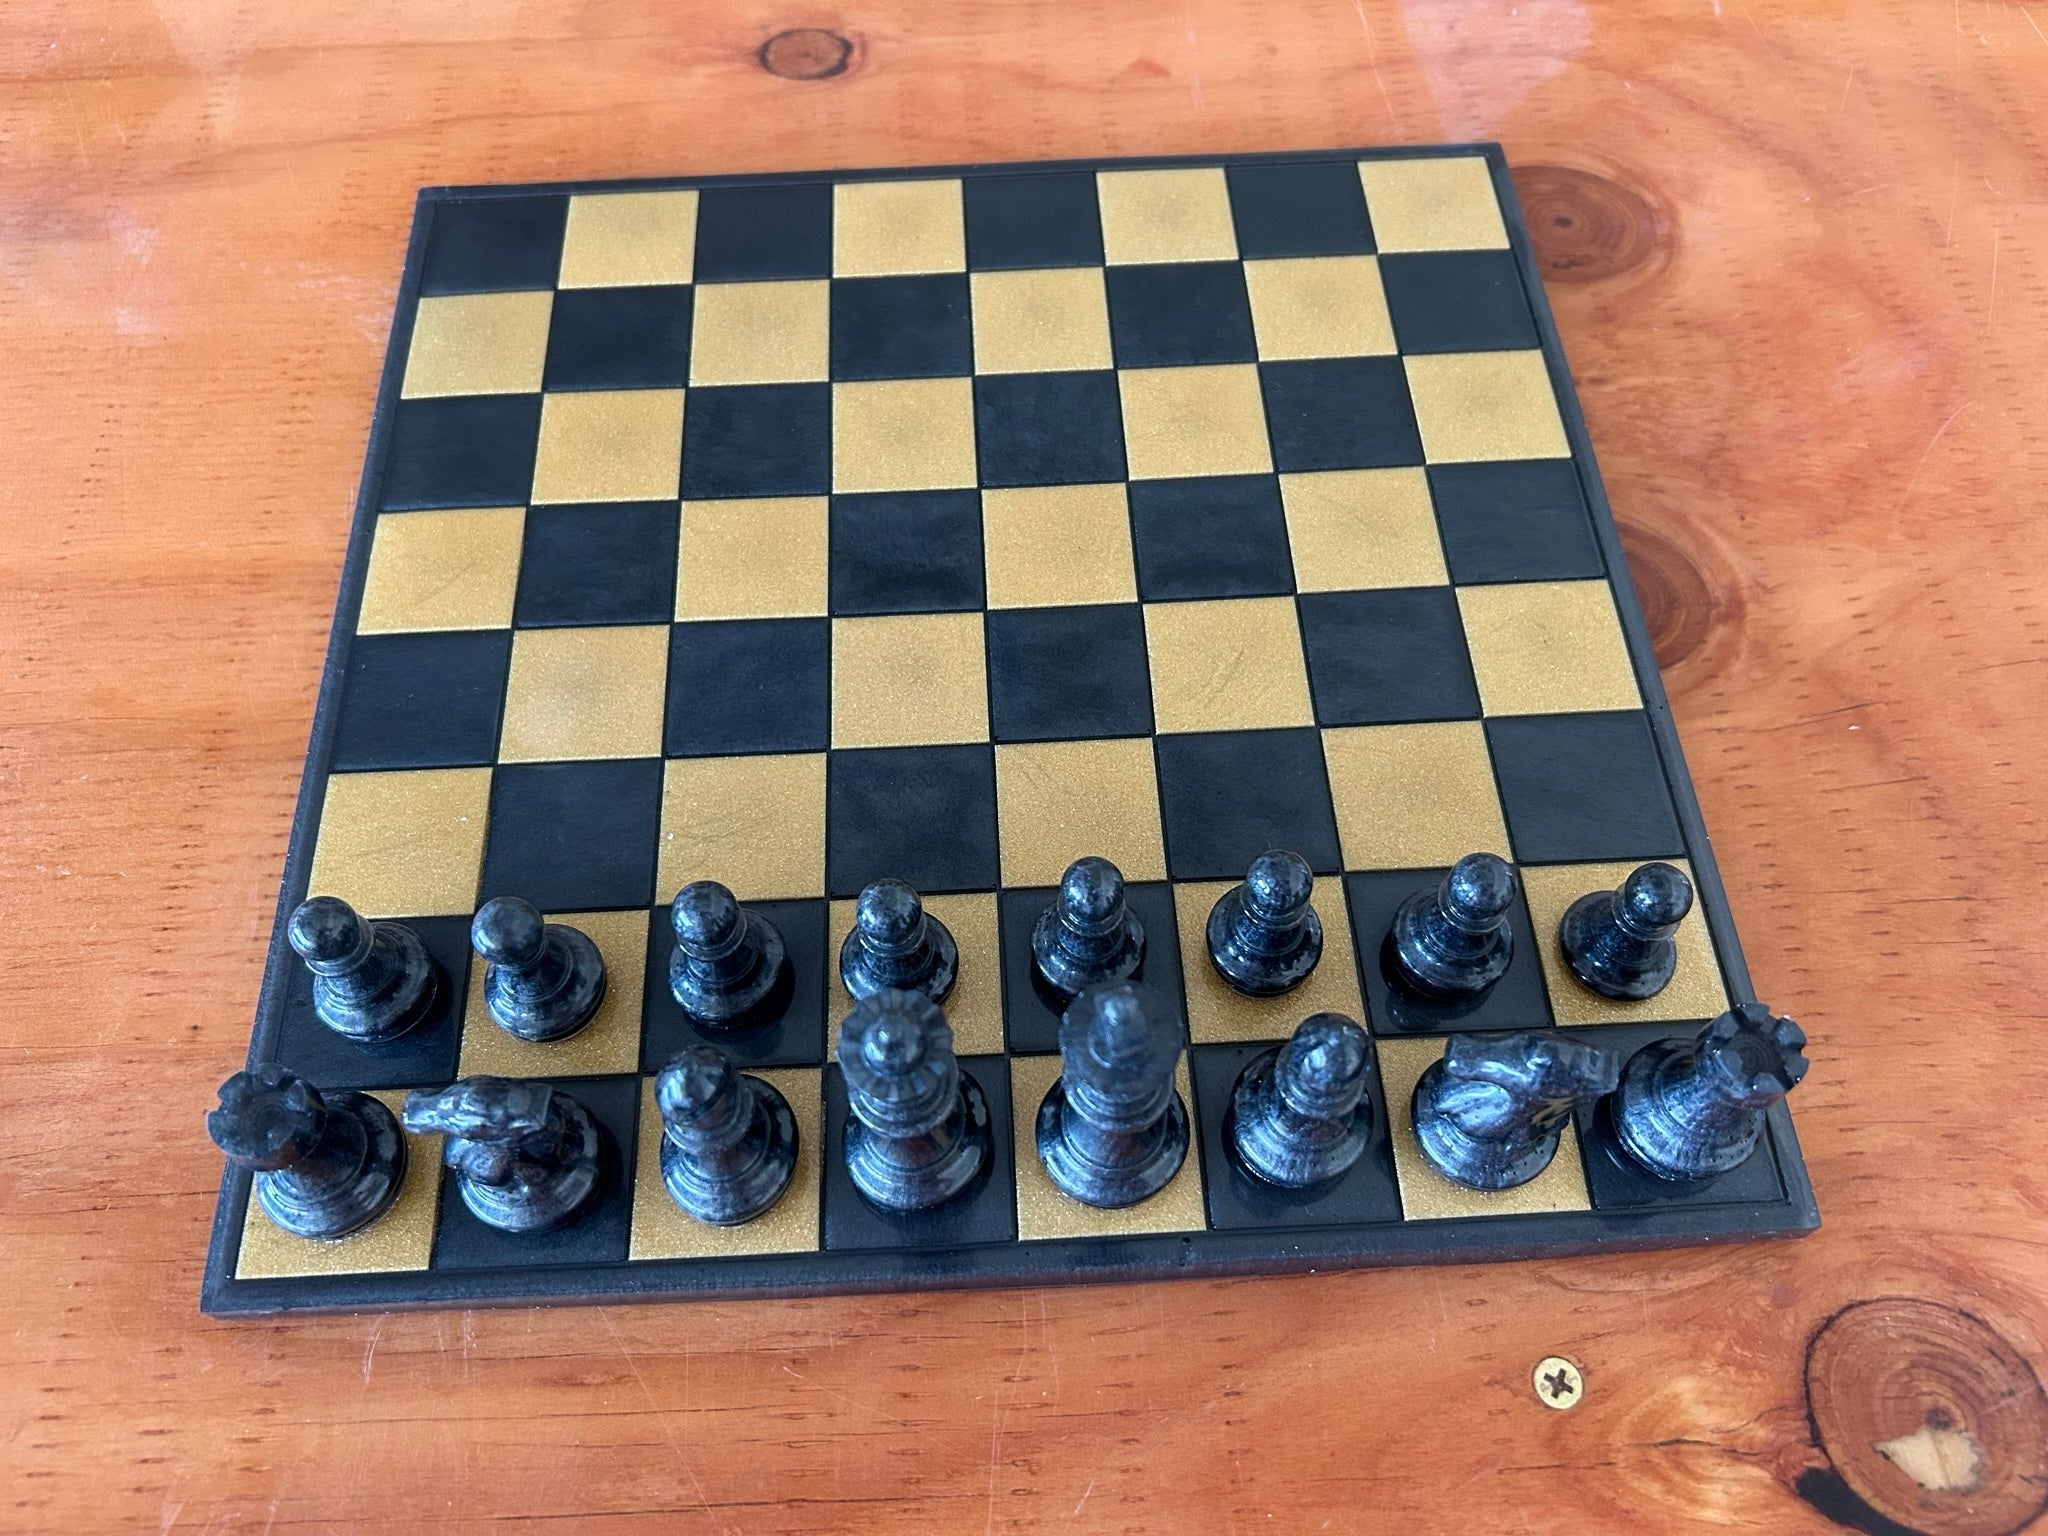
Once epoxy resin is cured, you can de-mold the chessboard and pieces. Carefully remove and set in place. You are now ready for hours of fun.
Conclusion:
Creating your own stunning chessboard using epoxy resin and pigments is a creative way to elevate the look of your game. You don't have to be an experienced artist or woodworker to create your custom design chessboard. With just a few simple steps, you can create a beautiful chessboard in no time. So, get started, and let your artistic creativity flow!