0 item(s)
View cart
You have no items in your shopping cart.


The art of epoxy resin crafting has soared in popularity, transforming the worlds of DIY and home decor. While there is a plethora of variations and possibilities this medium affords, creating an Ocean Heart Bookend took some creativity. With no examples on the internet that included an ocean theme with deep pour resin, it took some trial and error to get exactly what we envisioned. In this blog post we go from the envisioning to the final cure. We'll dive into the nuances of this project, aimed at both novices and seasoned resin artists.
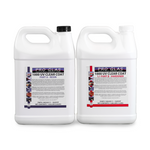
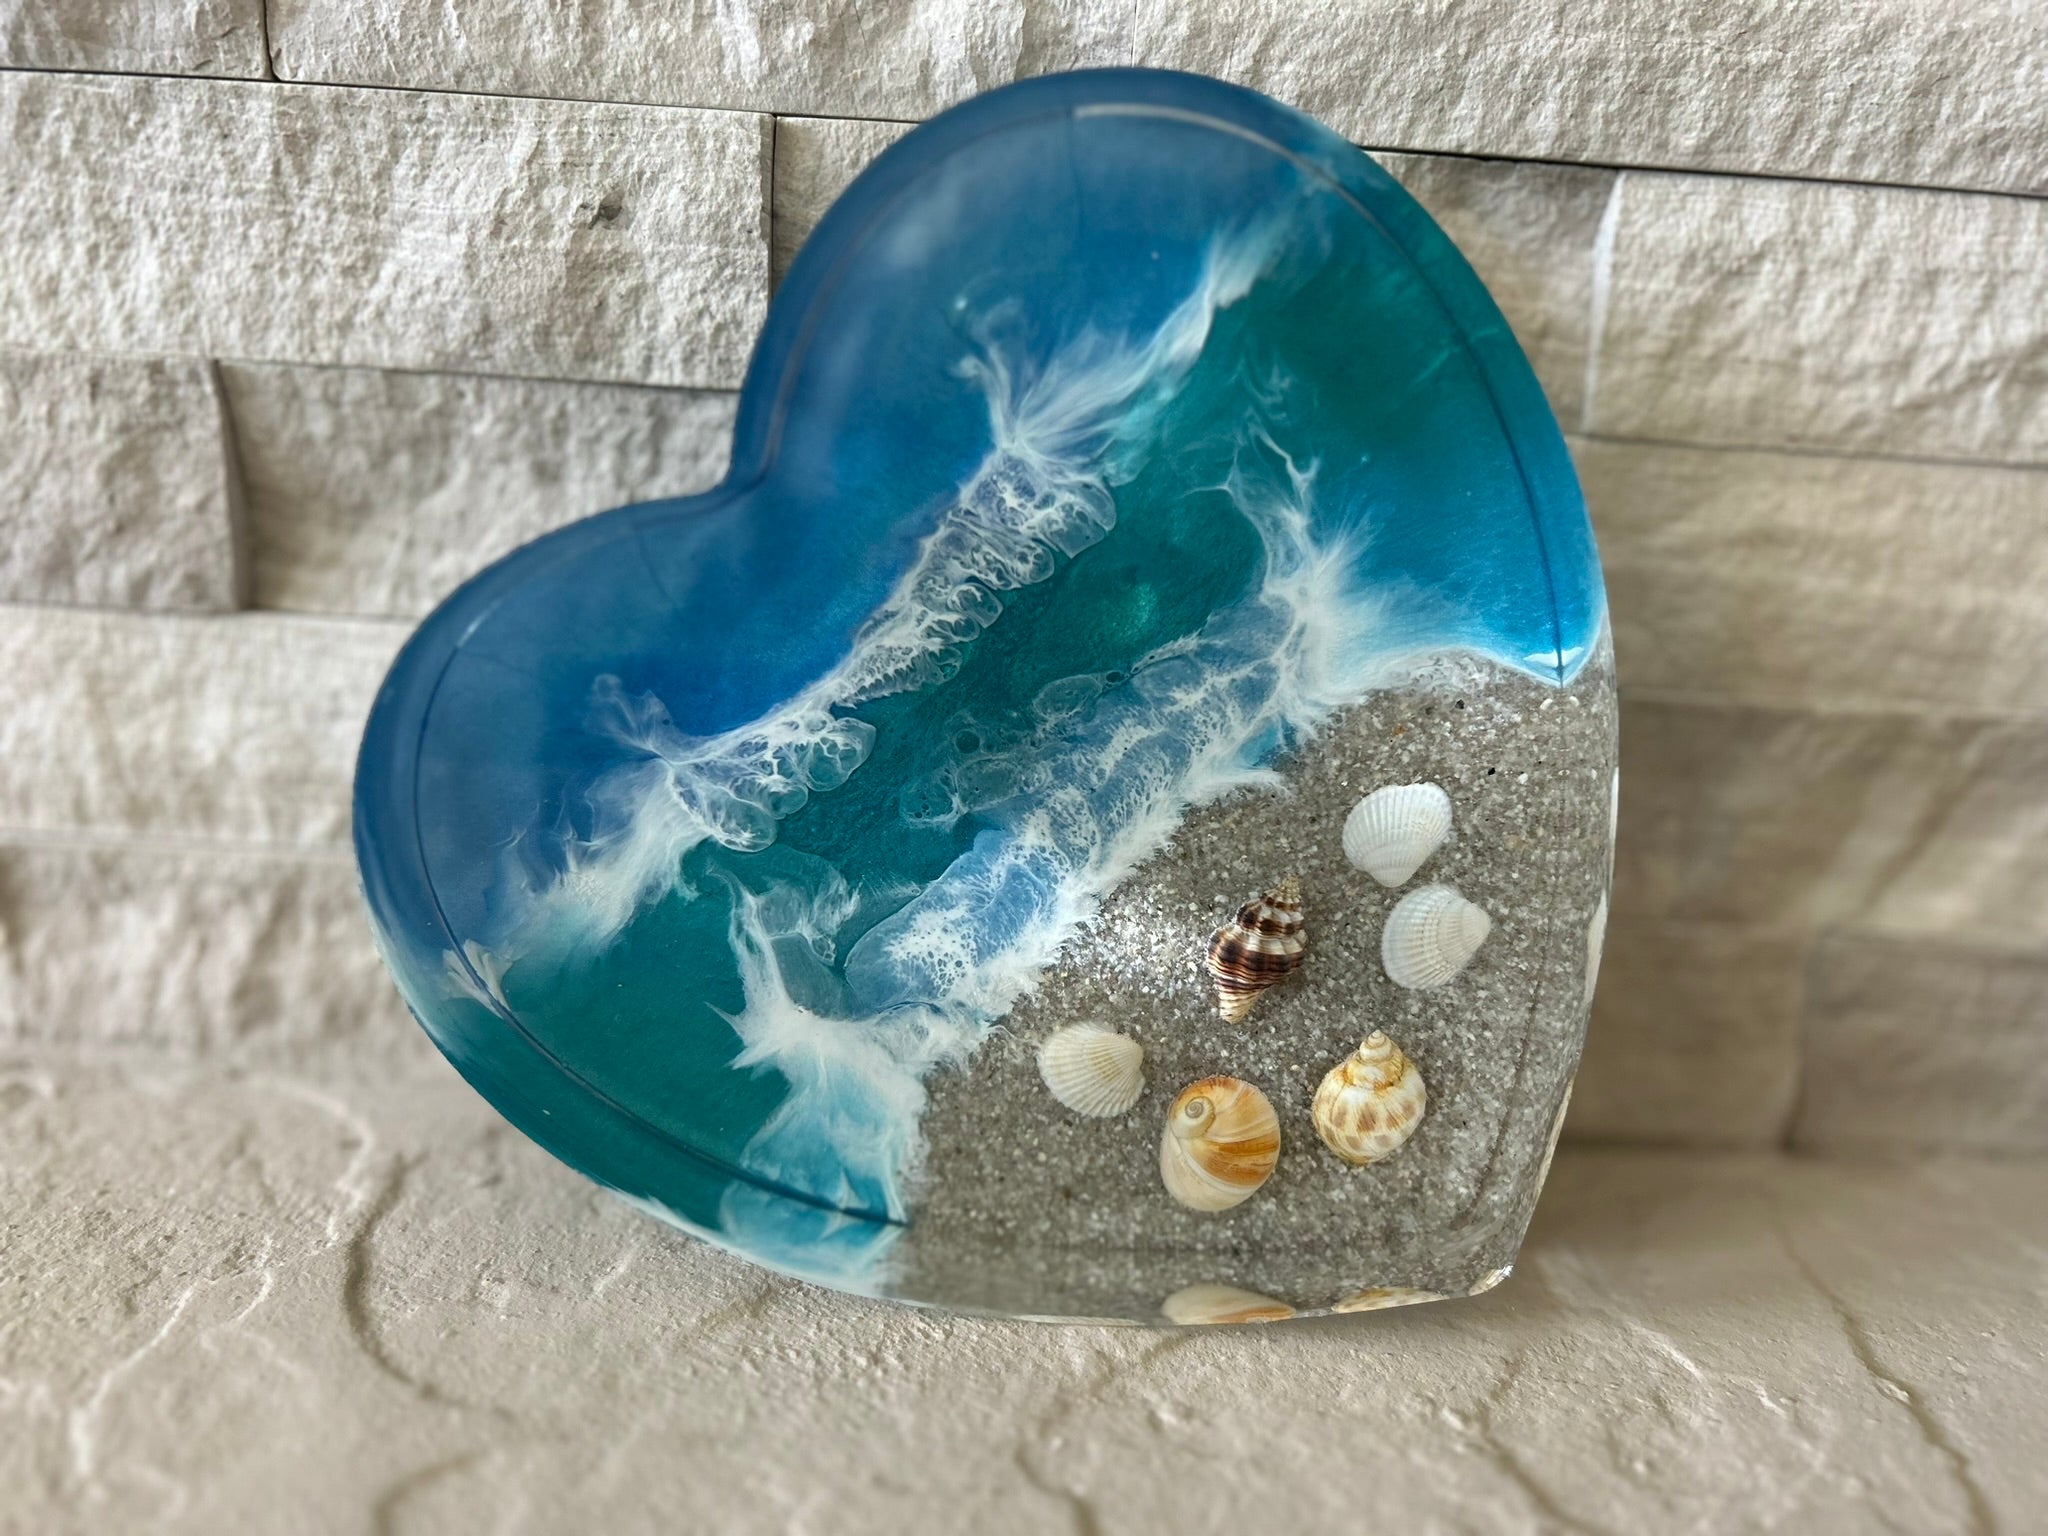
Before embarking on any crafting journey, it's paramount to have a clear vision of the final product. Our vision was to integrate sand, shells, and vibrant blue and green pigments to recreate the essence of the ocean. We chose ProGlas 1000 Tabletop Epoxy Art Resin to create the ocean scene. Then we chose ProGlas 1105 Deep Pour to create a crystal clear coating that captured intricate details but also provided the depth we were looking for.
Before getting started, we cleared our workspace, ensuring proper ventilation, wearing the requisite protective gear, and got ready to mix in a dust-free environment. Any impurities that persist in your prepping may end up captured in your final piece — an unwelcome guest in your art!
An important step before we got started was making sure our work area was warm enough and that the resin was also heated to 70-85 °F. We prepared a warm bath in a large bucket and let the resin jugs soak until they were thoroughly heated up. If this step is skipped during colder temperatures, the resin will have problems curing and will most likely not turn out the way you want it to.
-heart mold
-graduated measuring/ mixing cups
-stir sticks
-ProGlas 1000 Tabletop Epoxy Resin
-ProGlas 1105 Deep Pour Epoxy Resin
-pigments
-sand
-seashells
-heat gun
-safety equipment including gloves and respirator
The pour is where it all begins. We started by accurately measuring out ProGlas 1000 Tabletop Epoxy resin at a 1:1 mix ratio using a graduated mixing cup. Then the resin was thoroughly mixed making sure to scrape down the sides of the cup as we went along.
Next, the resin was poured into several different mixing cups to mix with sand and four different pigments- two blues, a green and a white pigment. The sand was mixed and put into the mold followed by the pigments. The pigments started with the lightest color near the sand all the way to the darkest at the farthest away.
Despite our careful execution, the initial results were not turning out as expected. Too much sand was used and the look was not what we were envisioning. It was time to start over!
In art, as in life, sometimes the beauty is in the redo. We didn't settle; we embraced the setback. This setback is a reminder that art is a constant process and that sometimes, the first step in perfecting a craft is to start over.
We used less sand this go around. A heat gun was used to get rid of any air bubbles. Then the blue and green pigments were poured into the mold in the order from lightest to darkest. White pigment was then added where the sand met the pigment and in between the different colors. A heat gun was used again to get rid of any air bubbles and to spread the white pigment, creating a lacing effect. Lastly, the shells were added to the sand. The resin was allowed to cure for 24 hours before moving on to the ProGlas 1105 Deep Pour.
ProGlas 1105 Deep Pour is a 2:1 epoxy resin. It was measured out in two parts Part A and one part Part B. It was mixed for several minutes and the sides of the cup were scraped as we went to ensure it was thoroughly mixed together. Once it was mixed well, it was poured into the heart mold at a two inch depth. A heat gun was used to get rid of the few air bubbles that rose to the top. It was left to cure for 72 hours in a warm and dust free environment.
The unveiling is a moment of truth that will either validate the journey or teach new lessons for the next project. We demolded the heart and were very pleased with the end result. It was worth starting over half way through so we could get exactly what we wanted.
Check out the video tutorial above to watch as this Ocean Heart bookend is created. If you still have questions, don't hesitate to give us a call at 833-669-7899 or email us at sales@fiberglasswarehouse.com