0 item(s)
View cart
You have no items in your shopping cart.


Get ready to dive into the world of boat stringers! These essential components keep your boat afloat and provide its structural integrity. But over time, wear and tear can lead to issues. Don't worry though - you don't have to replace your whole boat. If you're a handy DIY enthusiast, we'll guide you through the step-by-step process of repairing your fiberglass boat stringers. Say goodbye to expensive repairs and hello to saving money while enjoying your beloved boat!
Identify the Damage
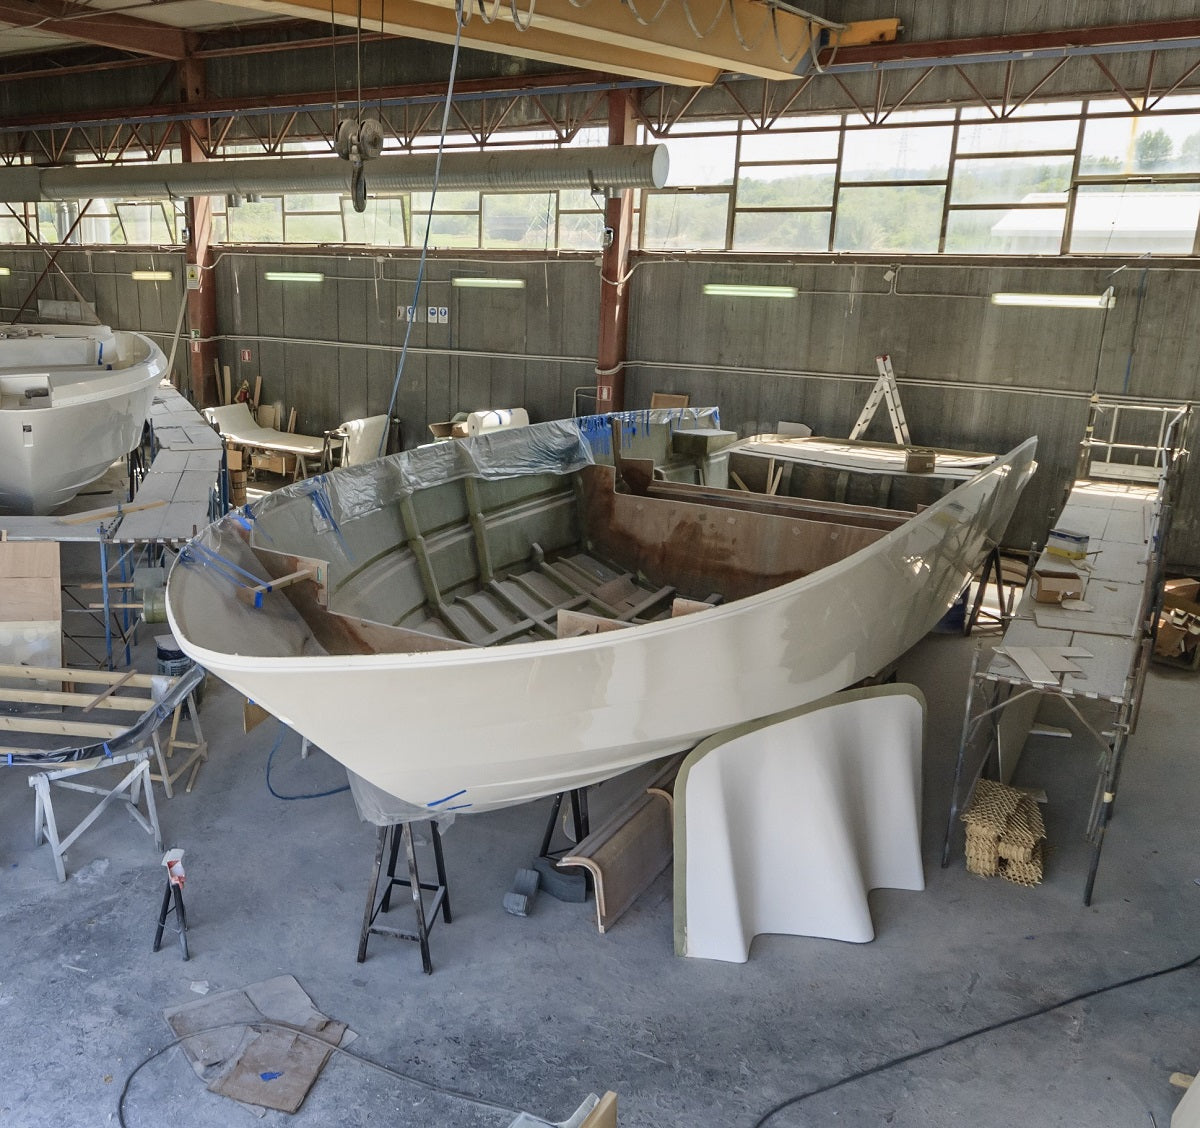
The first step is to locate the areas of the stringers that are damaged. Boat stringers run parallel to the length of the boat. In fiberglass boats, the stringers are typically made of wood or some other kind of core and then glassed over with fiberglass and resin.
Properly analyzing the damaged areas can save you a lot of work later on. Damage may have come from impact, rotting or just plain age. Look out for any bulges or cracks on the surface or in the tabbing. Tabbing is where the fiberglass extended from the stringer itself. Tap the stringer surface with a hard object to hear a change in sound. Typically, a damaged stringer will sound flatter, hollow or have no sound at all when tapped. When you've identified the damaged area, mark it out. If the damage is extensive, you may want to completely replace the stringers.
Removing the Damaged Area
Use a small saw blade to cut away the damaged area. Be precise, taking care not to cut into the surrounding unaffected areas. Then, sand or scrape out the damaged material from the damaged area. Use a vacuum to clean out the area and remove any debris around it.
Prep the Area for Fiberglass Installation
Prep the area by sanding. Clean the surface with clean water or a solvent to remove the dust and contaminants. After that, let it dry. It is important that the area is completely dry before applying resin and fiberglass.
Using Fiberglass and Resin on Repair area
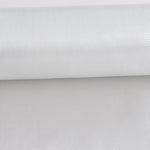
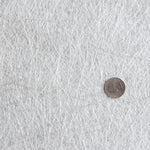
Measure the area that you want to fix and cut the fiberglass cloth to that size. We typically recommend 1708 Knit Fabric. This is a heavier weight fiberglass that is stitched to a layer of chopped strand mat. It is compatible with polyester, vinyl ester and epoxy resin systems. We suggest cutting at least the first layer of fiberglass several inches beyond the affected area to allow for tabbing.
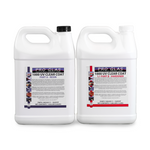
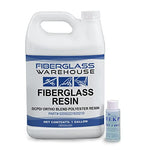
You may need 4-5 layers of fiberglass depending on the desired thickness of the stringer repair. Once the fiberglass is cut, mix the resin according to the instructions on the package. You can use a polyester resin, vinyl ester resin or epoxy resin here. Vinyl Ester Resin and epoxy resin are more waterproof than a polyester resin but any can be used. Apply the resin using a paintbrush or a roller to the fiberglass and then apply the fiberglass carefully to the area. Lay it in evenly. You can wet out the fiberglass and then put it in place if it is a vertical spot. If it is horizontal, you can apply the mixture of resin and hardener over the fiberglass until it's fully saturated. Let each layer cure or at least gel before adding another layer. Continue to layer until you achieve the desired thickness.
Finally, let the area cure. If you used a polyester or vinyl ester resin, it will cure tacky (epoxy resin will not). Add some surface seal wax to the final layer of polyester or vinyl ester resin to achieve a hard tack free finish.
Sand the Area
After the fiberglass stringer has dried, use a sander to level the fiberglass surface. Ensure that you remove any lumpy and bumpy bits. Wipe all the dust and debris with a clean rag.
Conclusion
Repairing fiberglass boat stringers is not as hard as it may seem, and doing it yourself can save you a lot of money. With the above easy-to-follow steps, you should be able to carry out the task and get your boat back to good condition. Don't let damaged stringers hinder your boating experience. Get out your tools and start your repair process.
Still have questions? We are here to help! You can email us at sales@fiberglasswarehouse.com or call us at 833-669-7899.